How To: Make a Bath Bomb
As I’ve noted before, Instructables has changed their business model, reducing access to content to non-paid visitors. Since all of my work was published under a Creative Commons non-commercial license, I’ve removed it from Instructables and am republishing it here, so the content stays free. Keeping in mind folks with data stream limits, I’ve used smaller images, but you can click through them to larger versions if you wish, or you may see the entire project folder here for super large images.
Everybody loves bath bombs. It is like taking a bath in champagne, only without the show tunes and chorus boys. They are fairly simple to make, keeping in mind that the strangest things can make a batch go weird; humidity, room temperature, oil viscosity, the moon rising in the seventh house of Aquarius . . . they are a mysterious wonder.
For this recipe, I am using ingredients that are pretty common, or easy to find in most areas. Essential oils can be found in small amounts at places like health food stores and craft stores often carry essentials and fragrances. Just make sure, if you buy fragrance oil, that you are buying “body safe” oils and not stuff for candles or oil warmers. Citric Acid can be found at health food stores, brewer’s stores, and online at various retailers.
So, let’s start with a basic recipe in two parts.
Dry ingredients: (By Weight, as measured on a scale.)
- Baking Soda – 8 ounces
- Citric Acid – 4 ounces
- Corn Starch – 4 ounces
- Salts – 4 ounces ( in these pictures, I used Dead Sea Salts, but mineral salts work too, and are easier to find and significantly less expensive.)
Wet Ingredients:
- Water – .75 tbsp
- Essential or Fragrance Oil – 2 tsp (for these I used a Ginger Peach.)
- Oil – 2.5 tbsp (I used cherry kernel, but any light vegetable oil will work.)
- Food coloring – 1 or 2 drops. (Your color will look very dark in the emulsion, but will be light in the fizzies, so as to not leave rings around the tub. For this batch I used one drop red and two drops yellow. The final result will be very light peach.)
step 1 – Blend the Dry Ingredients
Begin by putting all of your dry ingredients into a big bowl. Glass is best because it is non-reactive. Whisk or pestle those pesky clumps out. You want a fairly smooth consistency throughout the entire mix.

step 2 – Mix liquid and blend dry and liquids together
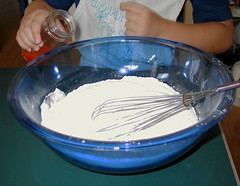
Blend your wet ingredients together. I usually use a small jar and shake it up. Don’t worry about separation too much, you are not going to get a full emulsion. Then, while whisking, slowly add small amounts of the liquid to your dry ingredients. Here we see my faithful Igor prepare to pour.
step 3 – Try to avoid creating volcanoes
If the mixture starts to foam, you are adding the liquid too fast. Quickly whisk the reacting ingredients into the nonreactive part and you should be able to stop the reaction. I add about a teaspoon at a time. When all of the wet ingredients have been added, you should have a mixture with the consistency of slightly damp sand. It should clump together when you squish it.
step 4 – Mold quickly
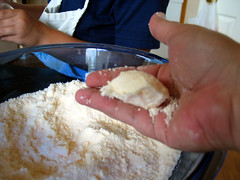
Once your mixture is together, you have a pretty limited amount of time in which to get it into molds. To create the giant Soapy Hollow ball of bath doom, I use round christmas tree ornaments that were designed to be filled with goodies. To do a three-dimensional bomb like these, you pack each side, then overfill a tad at the center and press the two sides together.
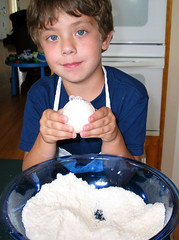
It takes a little practice to get a feel for how much filling you need, so don’t get discouraged if your first couple fall apart. Here we see Igor holding a filled ball and wondering about child labor laws.
step 5 – Unmold and let dry
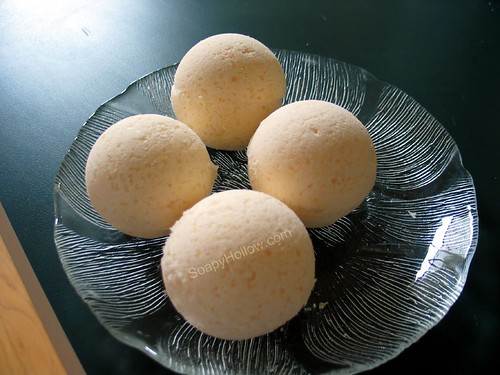
You don’t need to leave them in the mold for very long, and in fact can tap them out as soon as you fill them. These are four bombs we made with this batch.
You can use all sorts of things to make your bombs; muffin tins, ice cube trays, candy molds, Aunt Magnolia’s denture case . . . whatever makes you happy.
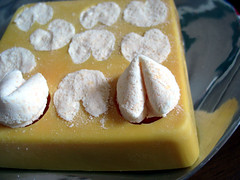
This batch didn’t make quite enough for five bombs, and the humidity levels made the batch start to puff up, so I quickly stuffed what was left of the batch into my “bath cookies” mold. Note: When using things like silicon trays that surround the seltzer mix, or any mold with a lot of details, the mix must stay in the mold until dry, or it will crumble when you try to take it out.
Once they are completely dry, store bath bombs in an airtight container or bag. High humidity will make them activate. Because we used oil and water and no preservatives, you want to use them within about 6 months. Assuming you can keep them for that long. Igor demands payment in immediate fizzy baths, but you may have better luck actually getting to *use* yours.
When you’re ready to use one, just drop it into a warm bath, and relax.
